Setting Up a Public Portal
Learn how to create and configure a public portal for your AI agent. Portals allow external users to interact with your agent through a dedicated interface with controlled access.
Prerequisites
- An active Uhura account with workspace access
- Admin or Agent Manager permissions
- An existing agent (or follow the steps to create one)
Estimated time: 10 minutes
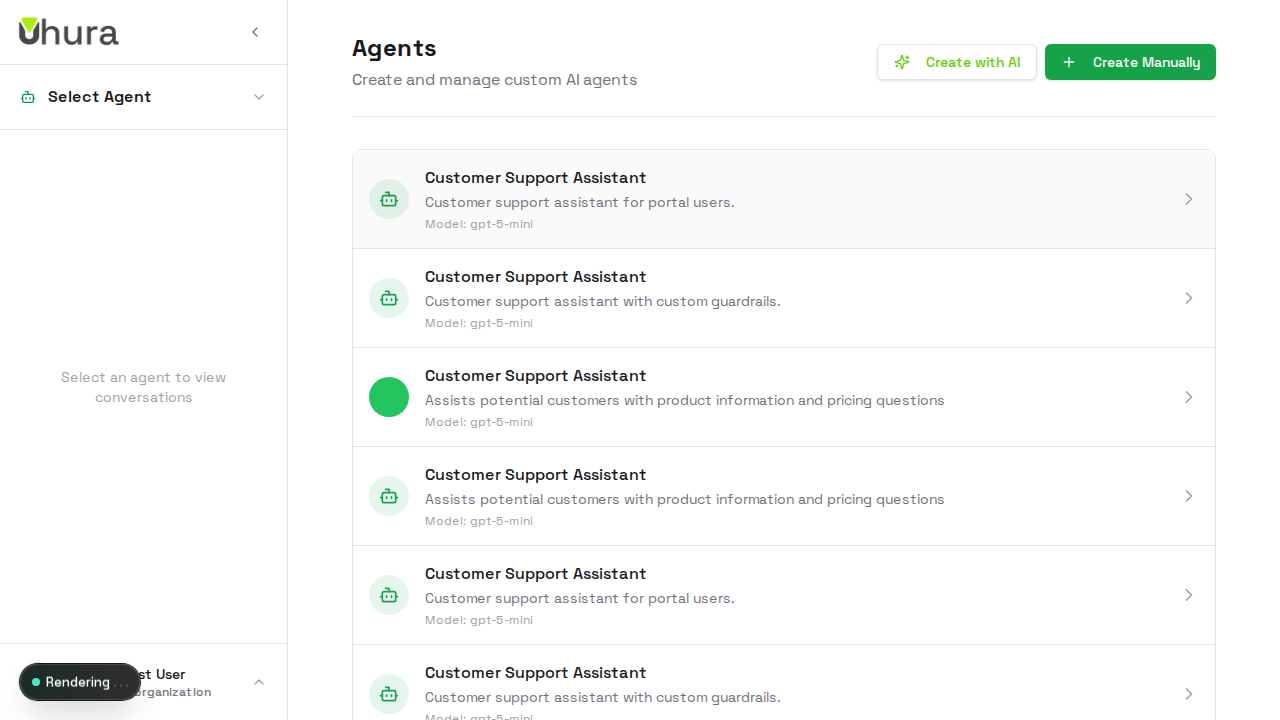
Navigate to Agent Settings
From your dashboard, go to Settings and select Agents. Click on the agent you want to configure for portal access. If you don't have an agent yet, create one first.
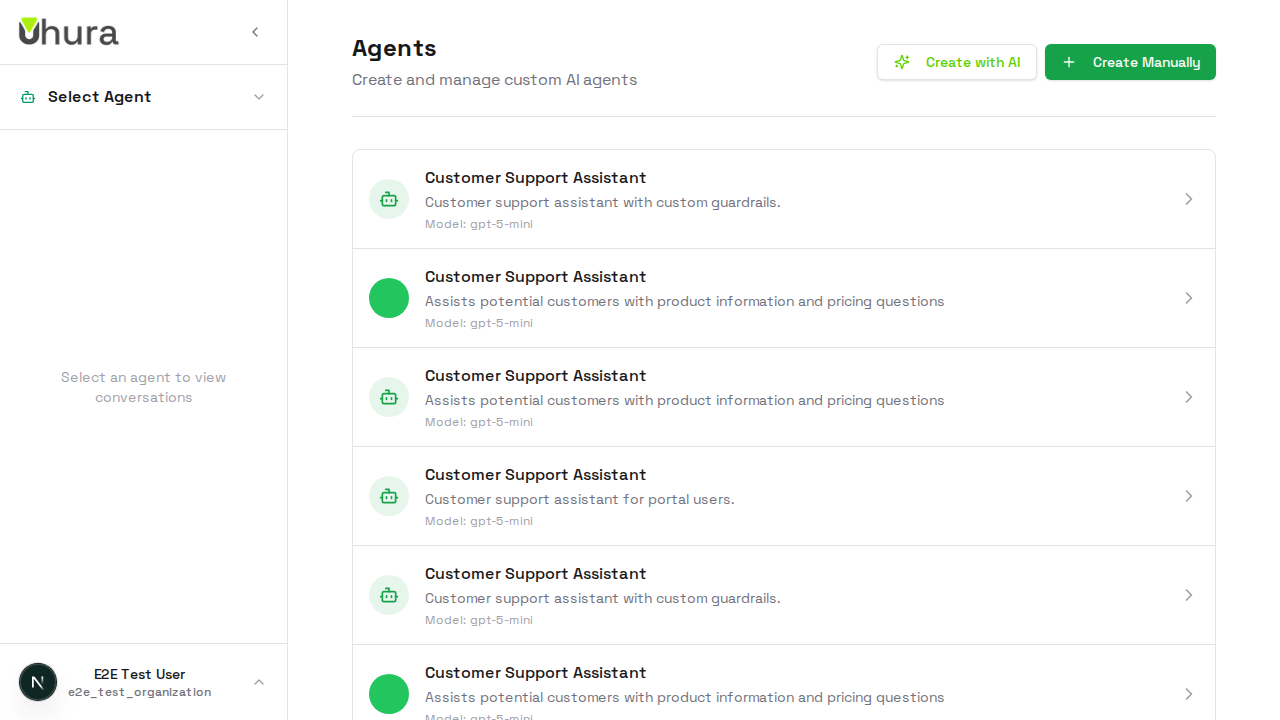
You can also navigate directly to /settings/agents in your browser.
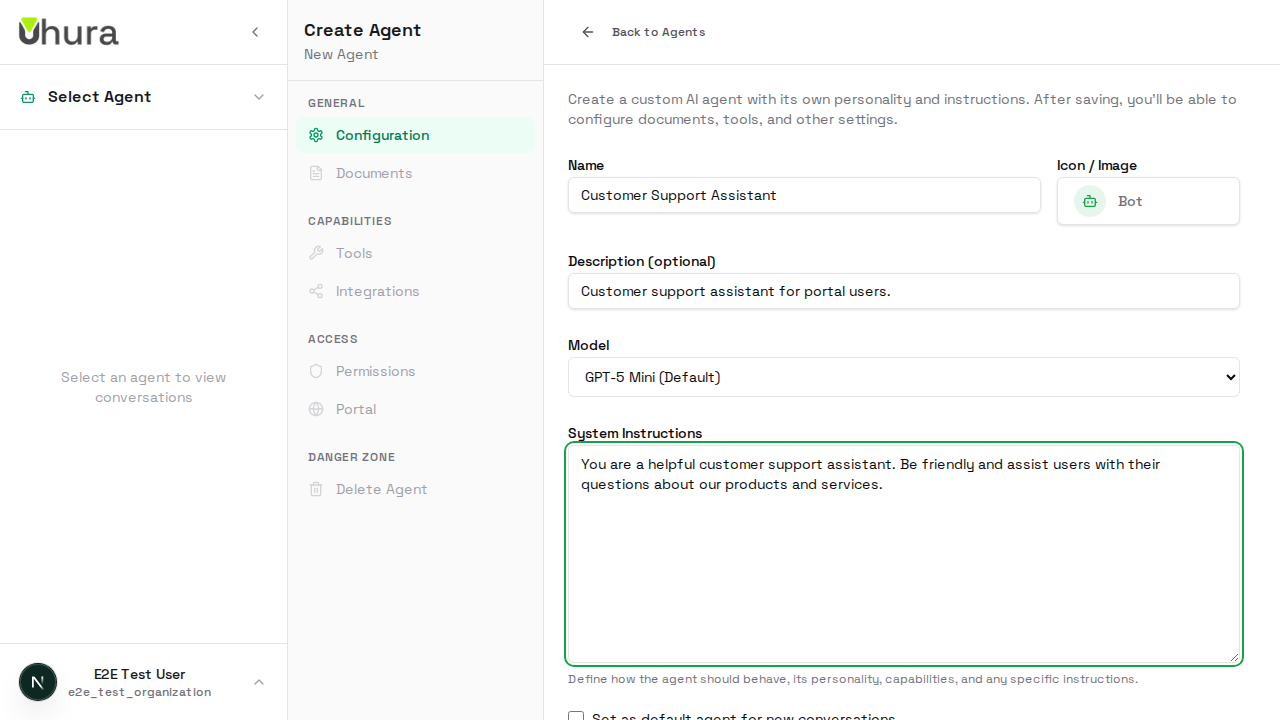
Create or Select Your Agent
For this guide, we'll create a new agent. Click "Create Agent" or select an existing agent from the list to configure its portal settings.

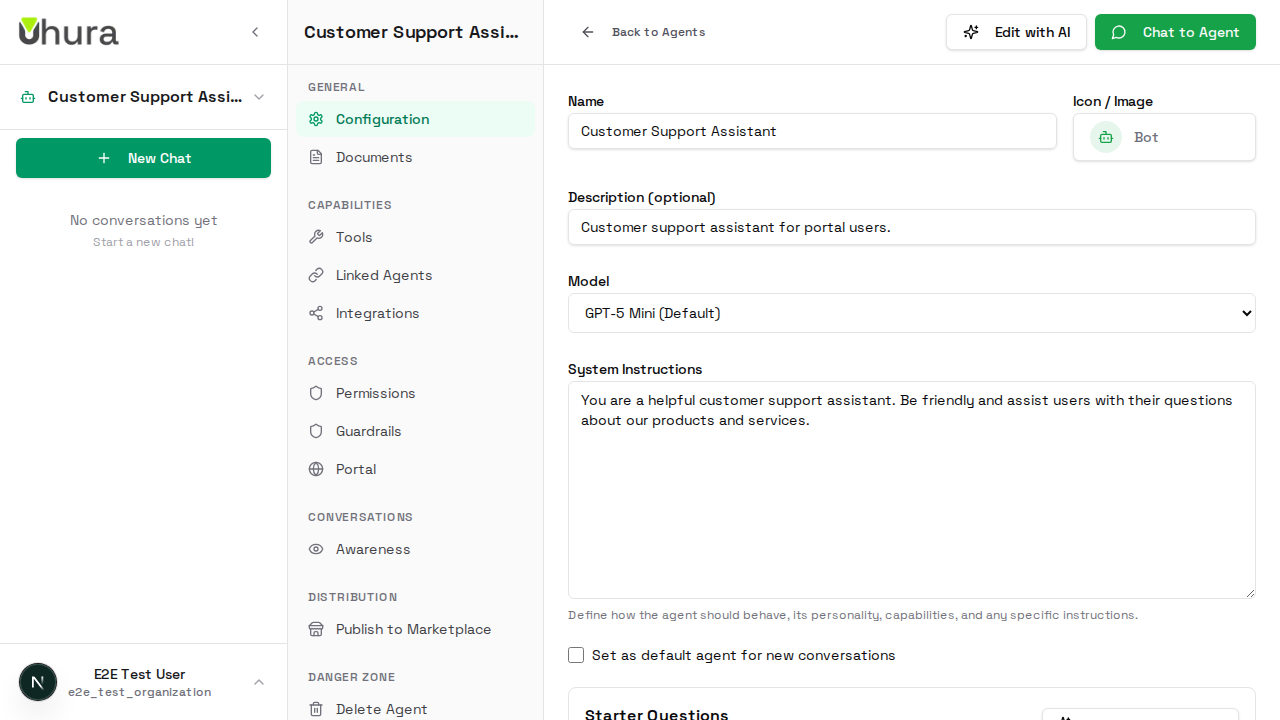
Configure Agent Details
Enter the basic details for your agent including name, description, and system instructions. These will be used when your portal users interact with the AI.

Save Your Agent
Click "Create Agent" to save your configuration. After creation, you'll be able to access the Portal settings tab.
Access Portal Settings
In the agent configuration page, click on the "Portal" tab to access portal-specific settings. This is where you'll enable and customize your public portal.
Set Your Portal Slug
Enter a unique slug for your portal URL. This will be part of the URL your users will access (e.g., portal.uhura.online/your-slug). Choose something memorable and relevant to your brand.
Use lowercase letters, numbers, and hyphens. Avoid special characters.
Once set and in use, changing your slug will break existing links shared with users.
Enable the Portal
Toggle the switch to enable your public portal. Once enabled, users with approved access can interact with your AI agent through the portal interface.
Expected result: The portal URL will appear below the toggle after enabling.

View Your Portal URL
After enabling the portal, your unique portal URL will be displayed. Share this URL with users who need access to your AI assistant. Users will need to be invited before they can access the portal.

Invite Portal Users
Expand the "Users & Invitations" section to manage portal access. Enter an email address and click "Send Invite" to invite users. Invited users will receive an email with instructions to access the portal.

You can invite multiple users by sending individual invitations.
Manage User Approvals
After users accept their invitation and register, they will appear in the users list with a "Pending" status. As an admin, you must approve each user before they can access the chat interface.
Expected result: Pending users will show an "Approve" button. Click it to grant them access.