Setting Up Conversational Awareness
Learn how to configure Conversational Awareness to automatically analyze your agent's conversations. Detect sentiment changes, extract user information, identify urgent issues, and get alerts when intervention is needed.
Prerequisites
- An existing agent with active conversations
- Understanding of your monitoring requirements
Estimated time: 15 minutes
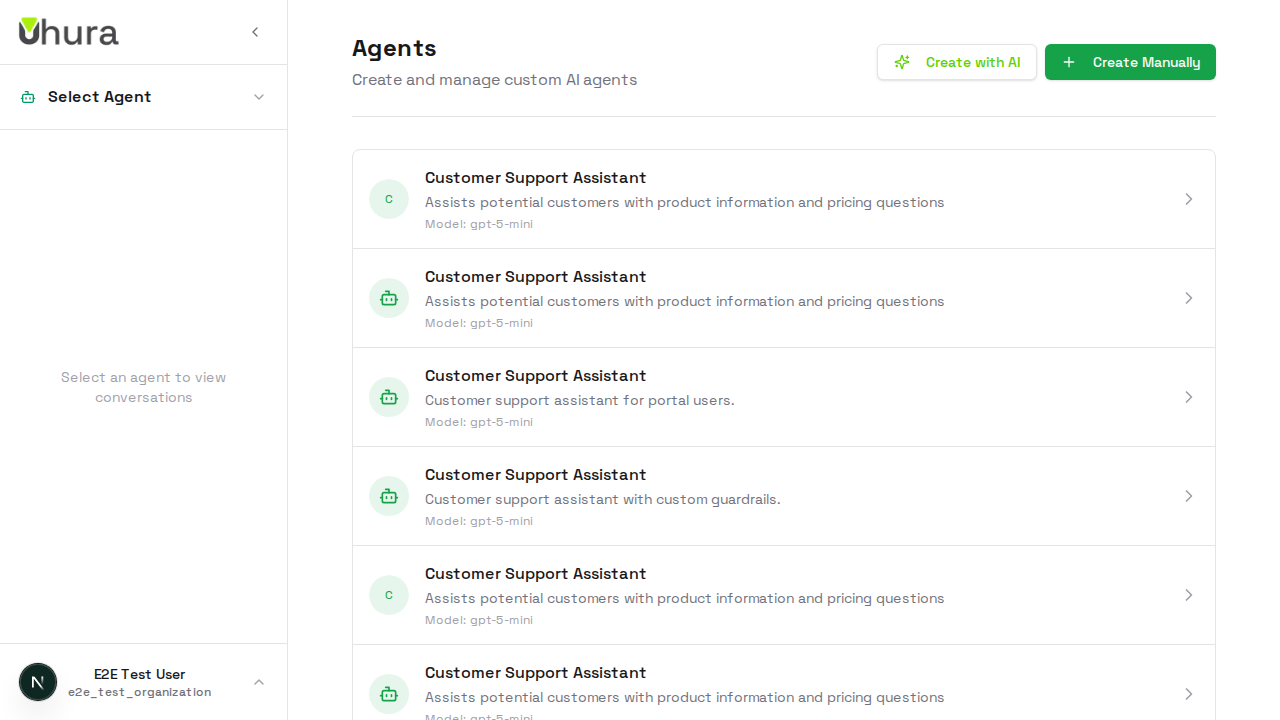
Navigate to Agent Settings
From your dashboard, go to Settings > Agents and select the agent you want to configure. Conversational Awareness adds real-time analysis capabilities to monitor and understand your conversations.
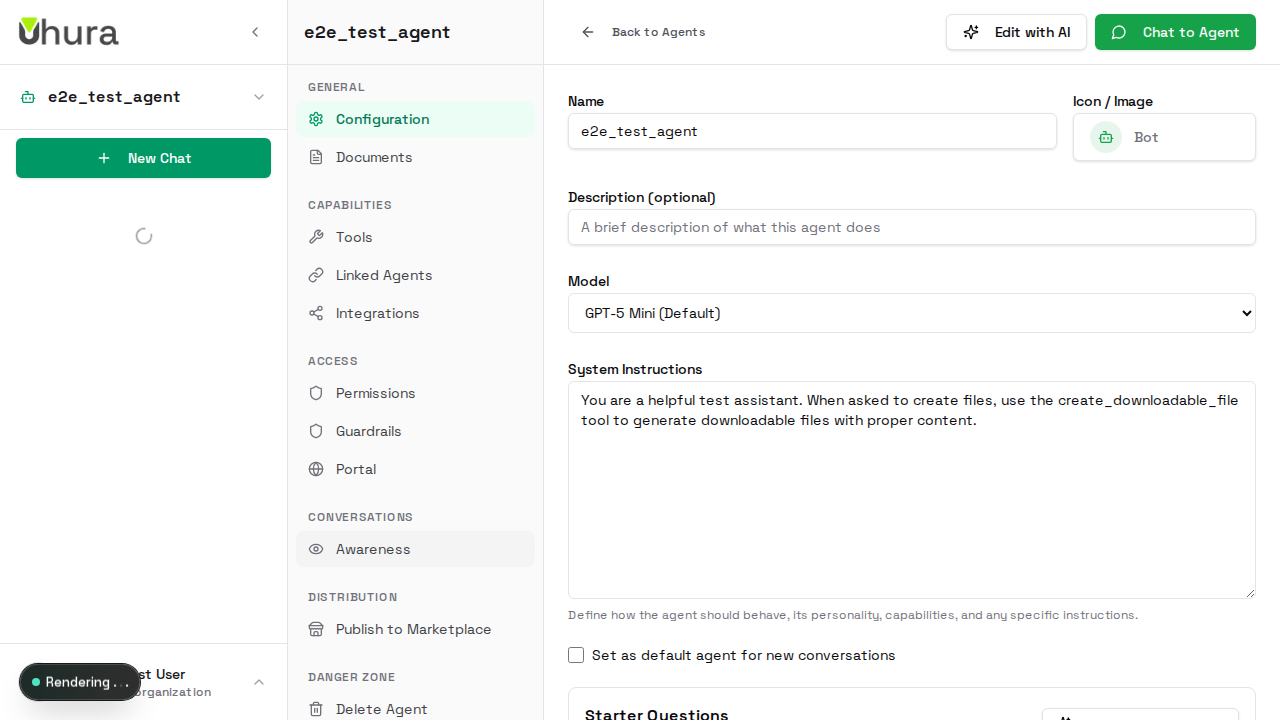
Open the Awareness Tab
In the agent settings sidebar, click on "Awareness" under the Conversations section. This is where you configure automatic conversation analysis, alerts, and fact extraction.
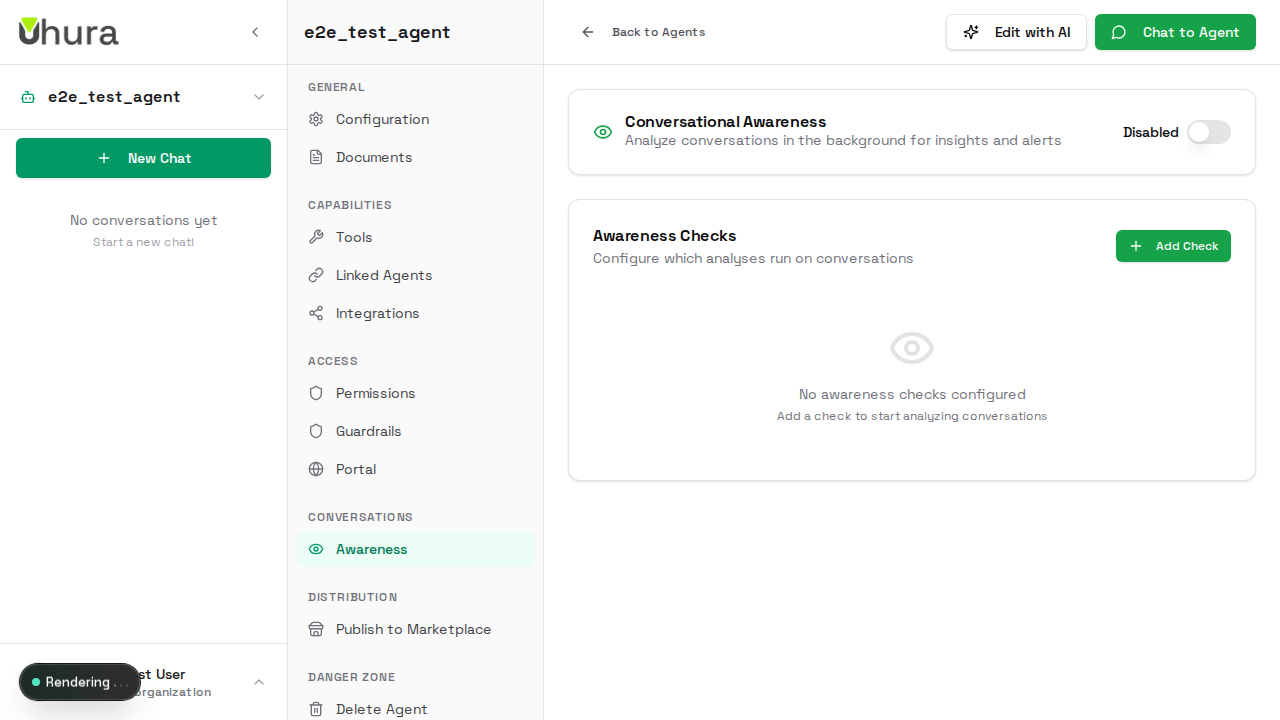
Enable Conversational Awareness
Toggle Conversational Awareness on to activate automatic analysis. When enabled, your agent will analyze conversations at configurable intervals to extract insights, detect sentiment, and identify issues.

Start with a few basic checks like sentiment analysis, then add more as you understand your needs.
Understanding Analysis Types
Uhura offers two types of analysis: Built-in analyzers (Sentiment, Toxicity, Alerts, Keywords, Topics) use fast Python-based detection. Custom analyzers use AI to extract specific information based on your prompts.

Add Sentiment Analysis
Sentiment analysis detects customer satisfaction in real-time. Configure a threshold (e.g., -0.5) to trigger alerts when sentiment drops. This helps you catch unhappy customers before they churn.
Set alerts to notify your team when sentiment is negative so they can intervene quickly.
Configure Check Frequency
Each analysis check has a frequency setting: how often to analyze new messages. Options range from every minute (for urgent monitoring) to every 24 hours (for daily summaries). Messages accumulate until the frequency timer fires.

More frequent checks use more credits. Start with 5-10 minute intervals and adjust based on your needs.
Set Up Callbacks
Callbacks determine what happens when analysis conditions are met. Options include: Store User Facts (save extracted info), Alert Team (send notifications), Escalate Conversation (flag for human review), Add Tags, or Call Webhook.

Webhook callbacks can send conversation data to external services. Ensure your webhook endpoint is secure.
Add Custom Analysis
Custom analysis lets you extract specific information using AI prompts. For example: "Extract company name, team size, and budget range from the conversation." The AI processes messages and stores structured results.

Custom analysis uses 5 credits per check vs 1 credit for built-in. Use built-in when possible.
Monitor Credit Usage
Each agent has a daily credit limit for awareness checks to prevent runaway costs. The settings show how many credits you've used today. Credits reset at midnight and unused awareness credits don't roll over.
If you hit your daily limit, checks pause until tomorrow. Consider increasing your limit or reducing check frequency.
Save Configuration
Click "Save Configuration" to apply your awareness settings. Changes take effect immediately for new messages. The system will start analyzing conversations according to your configured checks.
Expected result: Your awareness configuration is saved and active.
