Creating a New AI Agent
Learn how to create and configure a new AI agent in Uhura. This guide walks you through the agent creation process, from naming your agent to setting up system instructions that define its behavior.
Prerequisites
- An active Uhura account with workspace access
- Admin or Agent Manager permissions in your organization
Estimated time: 5 minutes
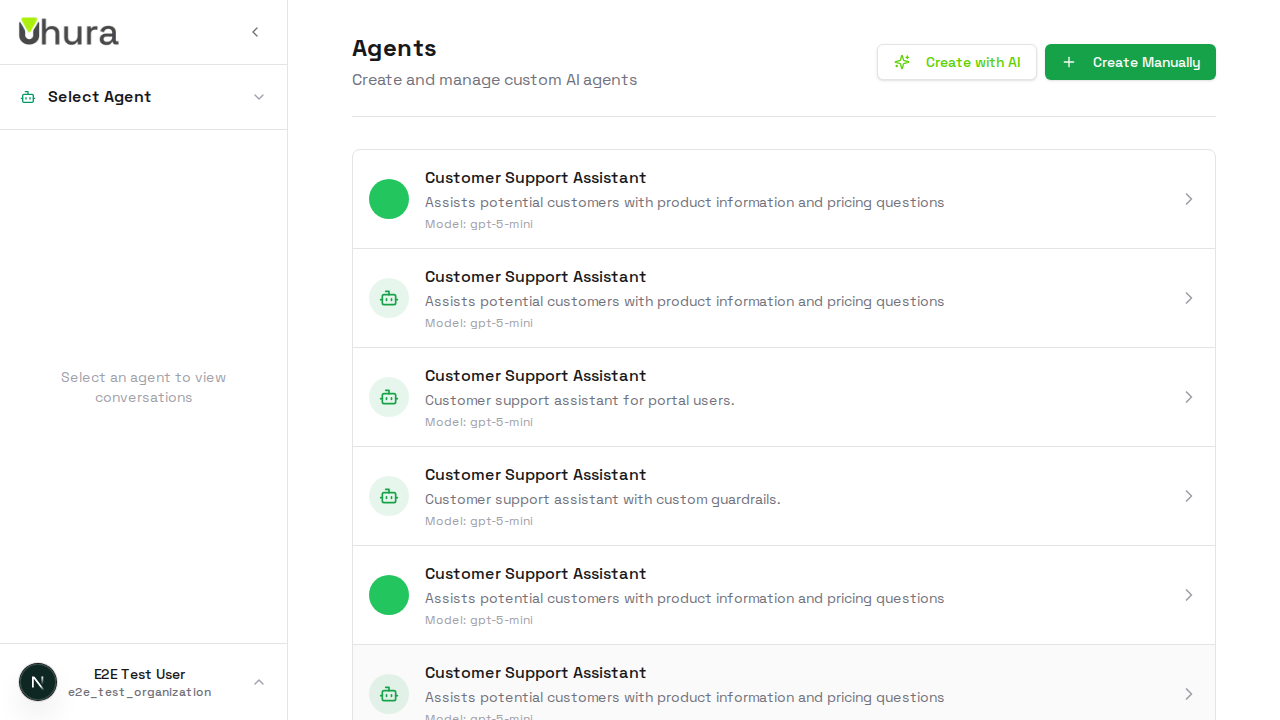
Navigate to the Agents Section
From your dashboard, click on "Settings" in the sidebar, then select "Agents". This takes you to the agent management area where you can view, create, and configure your AI agents.

You can also access agents directly by navigating to /settings/agents in your browser.
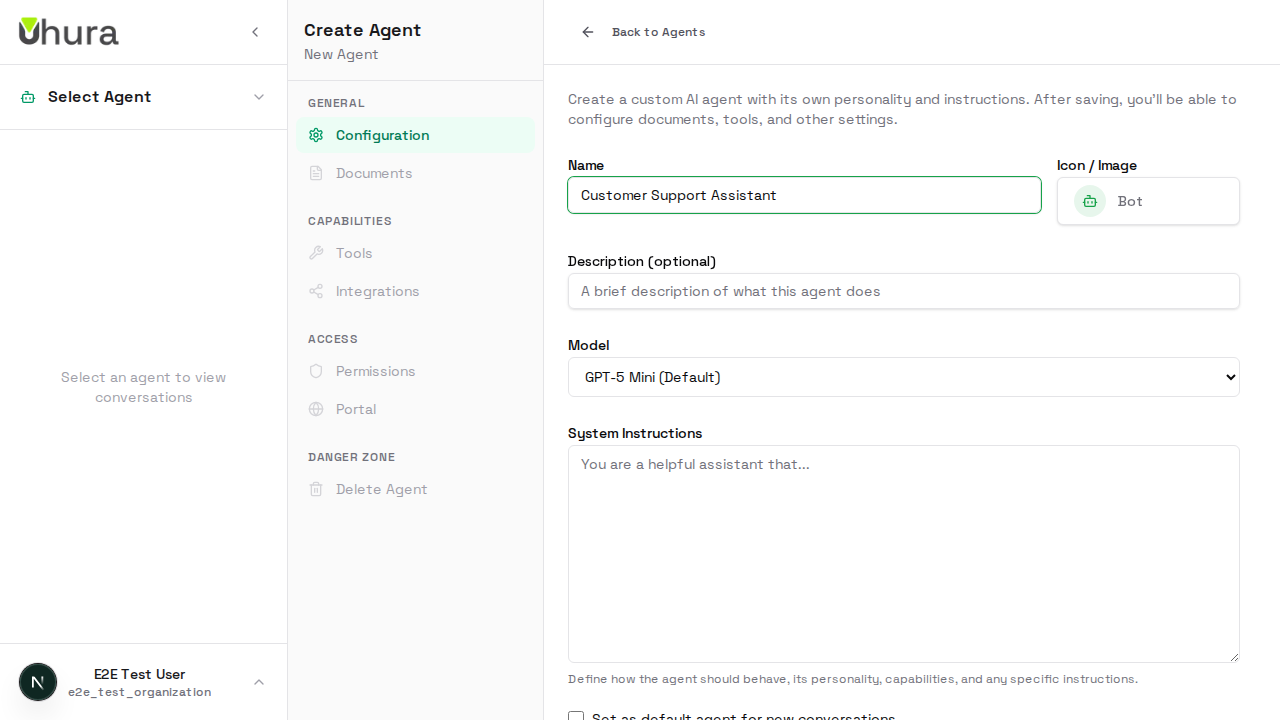
Start Creating a New Agent
Click the "Create Agent" button in the top-right corner of the agents list. This opens the agent creation form where you'll configure your agent's name, description, and behavior.
Enter Agent Name
Provide a unique name for your agent. This name will be displayed in the agents list and helps you identify the agent's purpose. Choose a descriptive name like "Customer Support Bot" or "Sales Assistant".
Expected result: The name field is filled with your chosen agent name.
Upload Agent Image
Click on the Icon / Image button to open the picker dialog. You can choose from a library of icons or upload a custom image for your agent. The image will appear in the agents list and chat interface.
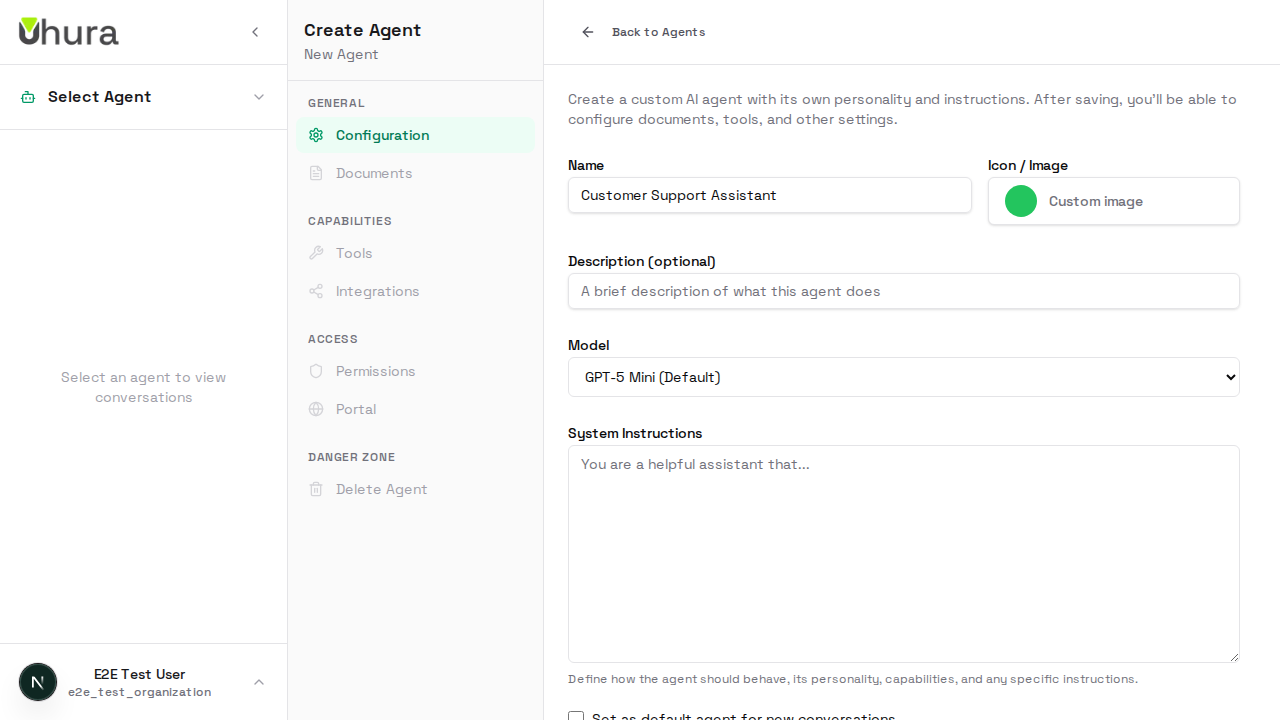
Custom images help users quickly identify different agents. Use a recognizable logo or avatar.
Add Agent Description
Enter a brief description explaining what your agent does. This helps team members understand the agent's purpose at a glance.
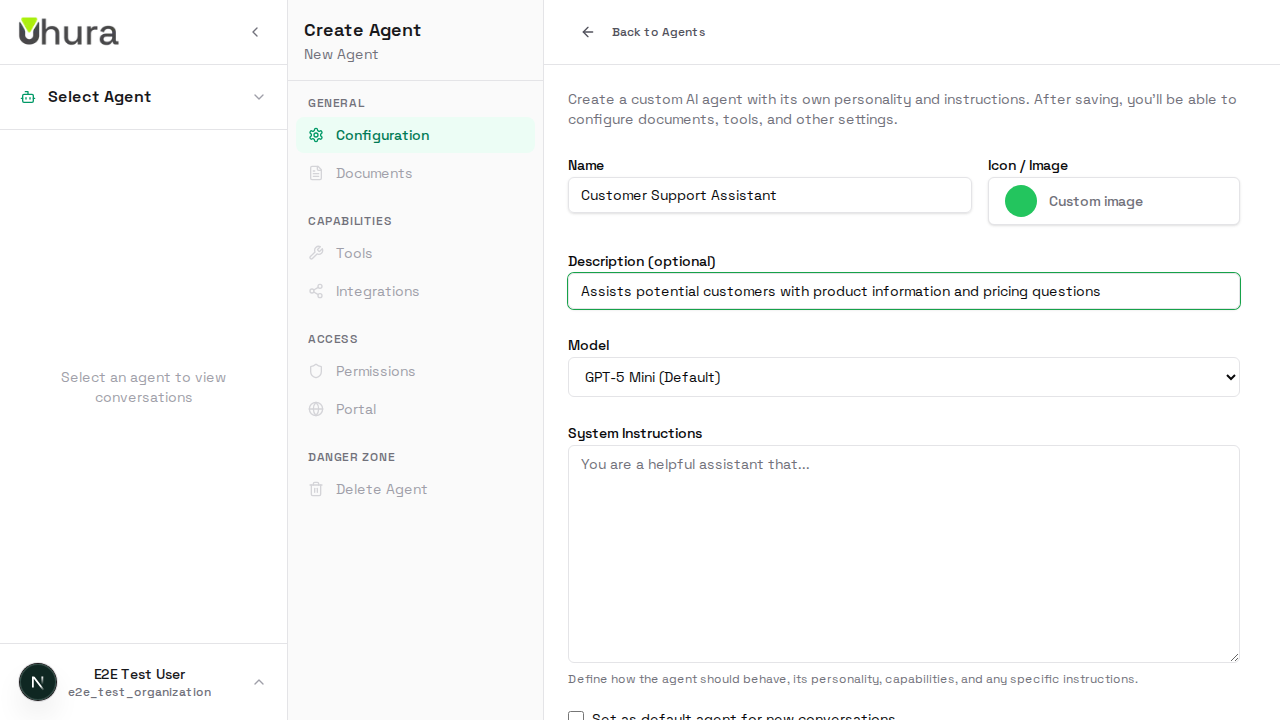
A good description includes the agent's main function and target audience, e.g., "Handles customer inquiries about product features and pricing".
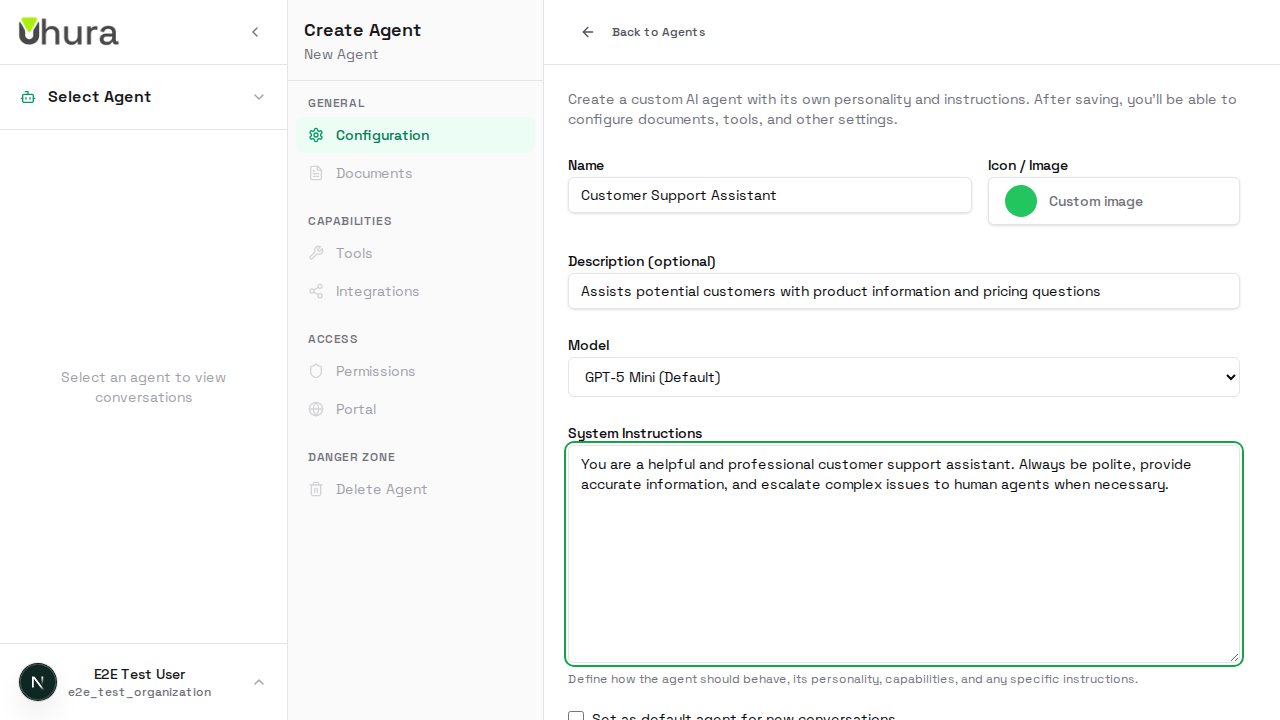
Configure System Instructions
Enter the system instructions that define your agent's behavior and personality. These instructions tell the AI how to respond, what tone to use, and any specific rules it should follow.

Start with a clear role definition like "You are a helpful customer support agent for [Company]..." and include any company-specific guidelines.
System instructions directly affect how your agent responds. Be specific about the tone, boundaries, and any topics the agent should or should not discuss.
Save Your Agent
Review your configuration and click the "Create Agent" button to save. Your agent will be created and you'll see a success confirmation.
Expected result: A success message appears confirming the agent was created successfully.
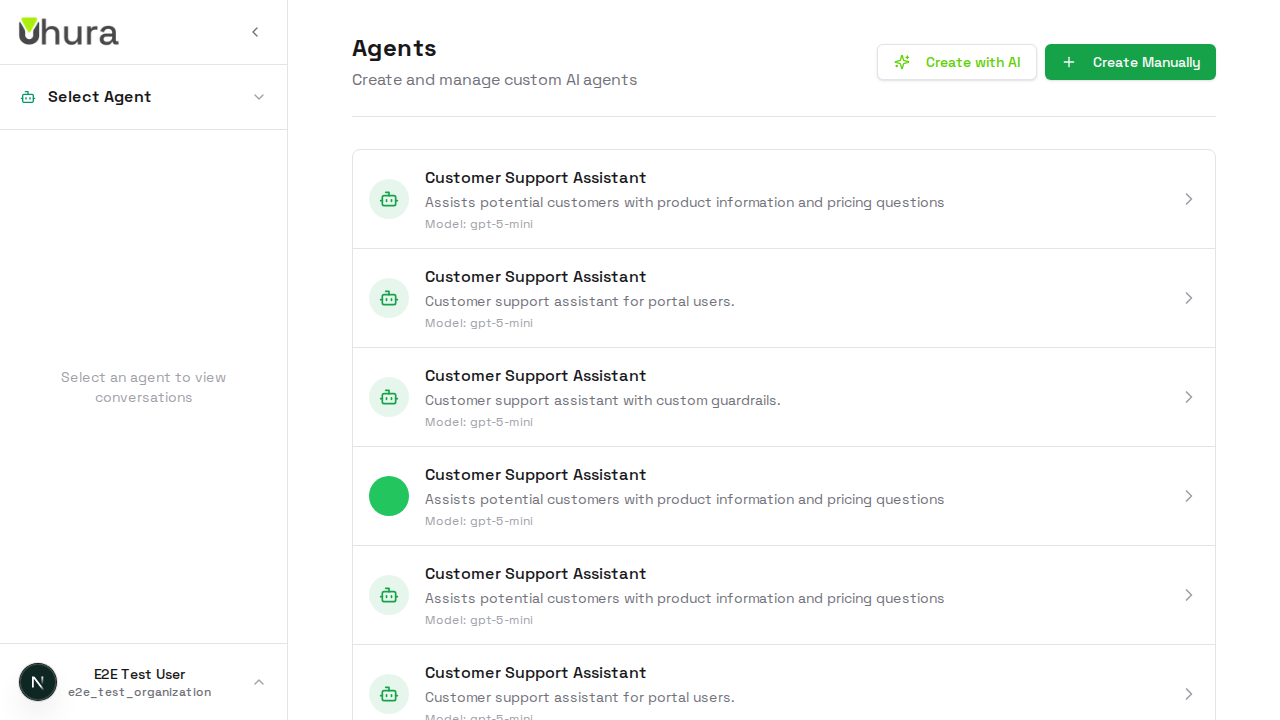
Verify Agent in List
Navigate back to the agents list to confirm your new agent appears. You can now configure additional settings like the public portal or integrations.
Expected result: Your newly created agent appears in the agents list with its name and description.