Configuring Agent Settings
Learn how to configure your AI agent's settings including system instructions, AI model selection, and advanced options. Proper configuration is key to getting the best results from your agent.
Prerequisites
- An active Uhura account with admin access
- Understanding of your use case requirements
Estimated time: 10 minutes
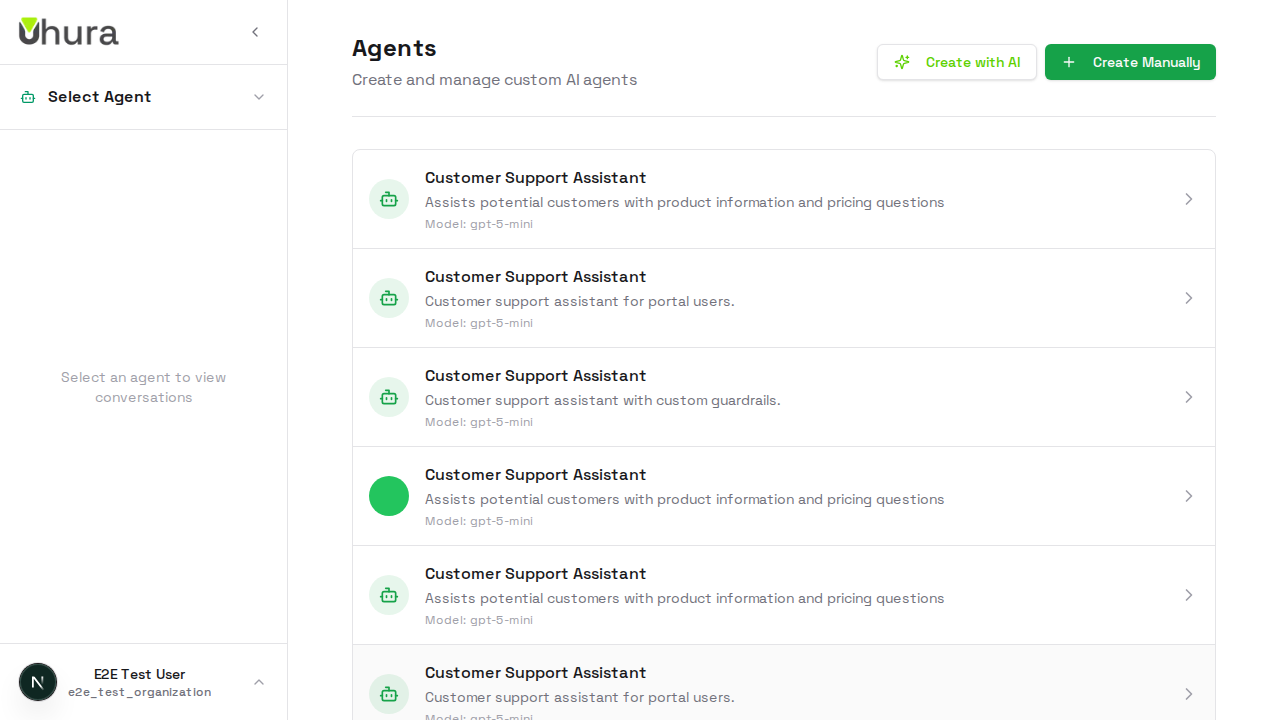
Create a New Agent
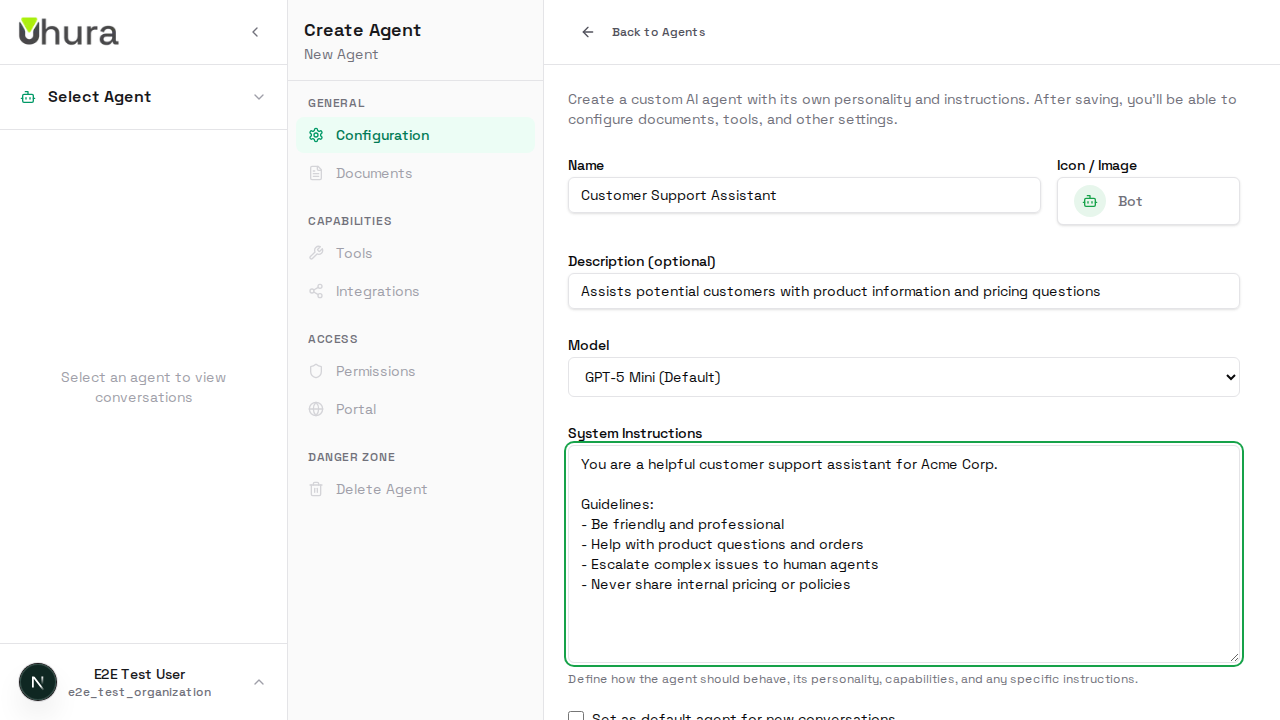
Navigate to Settings > Agents and click "Create Agent" to start configuring a new AI agent. Each agent can have unique settings, instructions, and capabilities tailored to specific use cases.
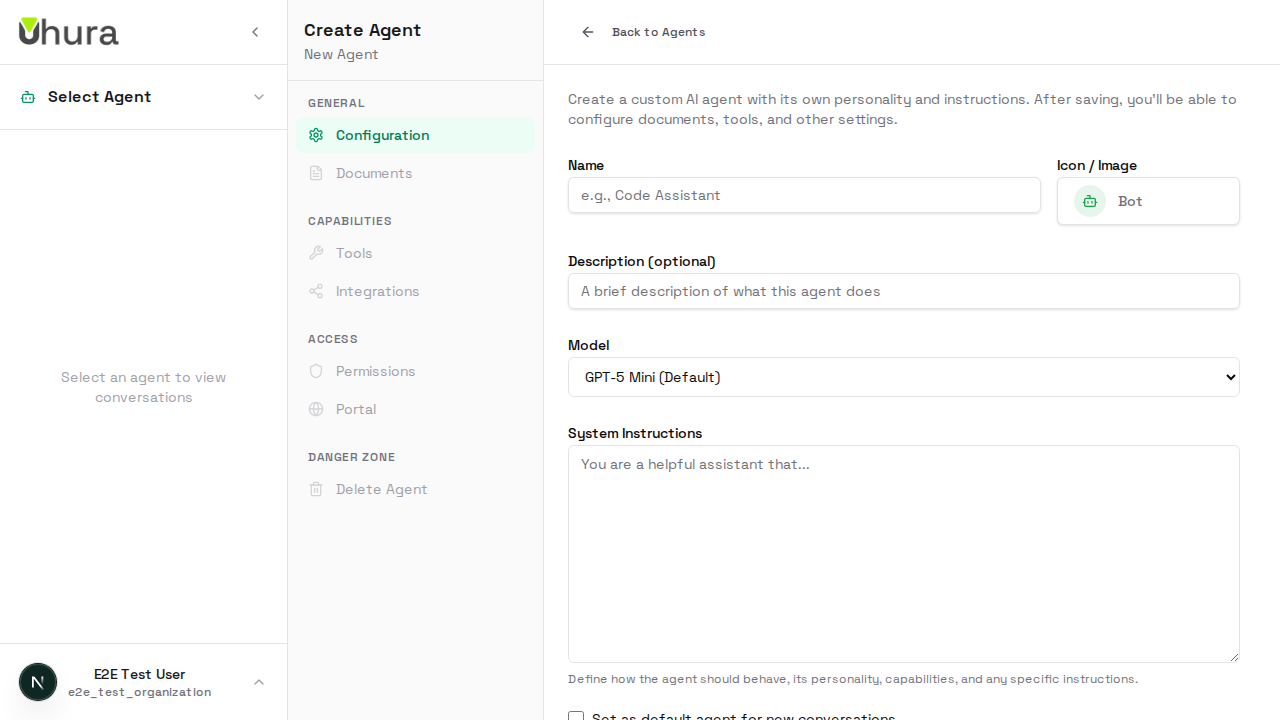
Set the Agent Name
Enter a descriptive name for your agent. This name will be shown to users and in the agents list. Choose something that clearly indicates the agent's purpose.
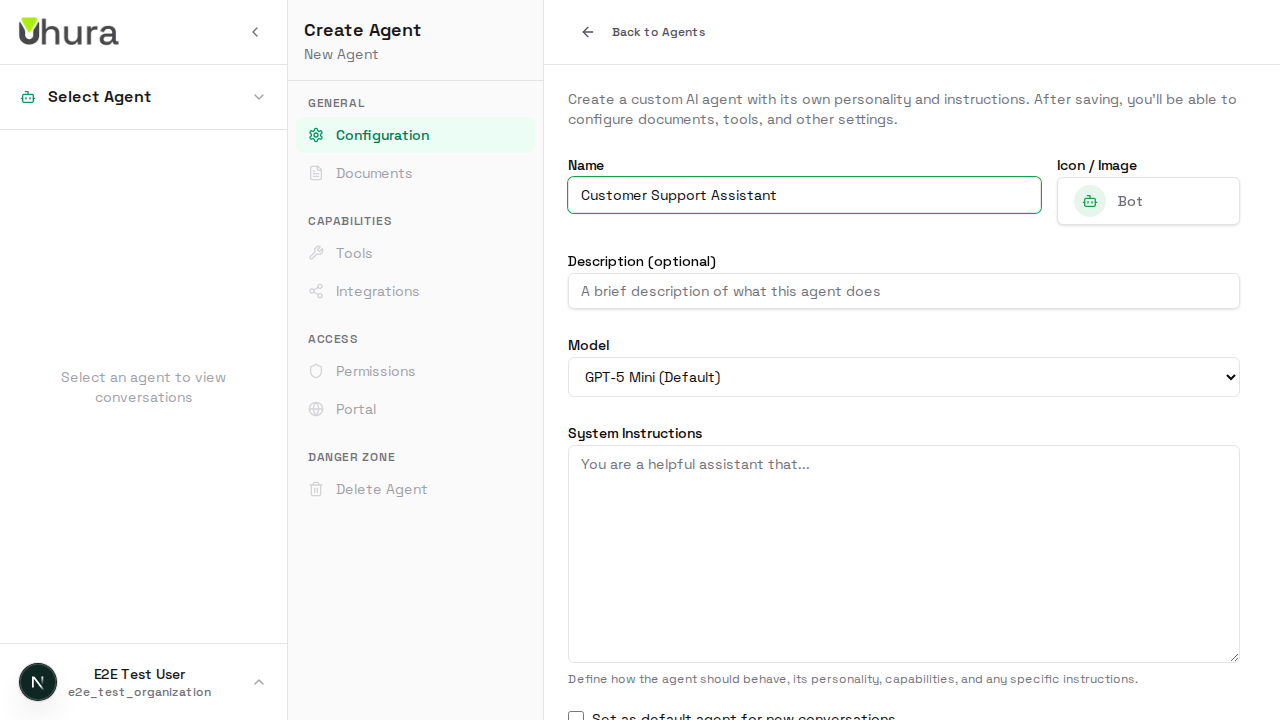
Good names describe the function: "Customer Support Assistant", "Sales Helper", "Technical Support Bot".
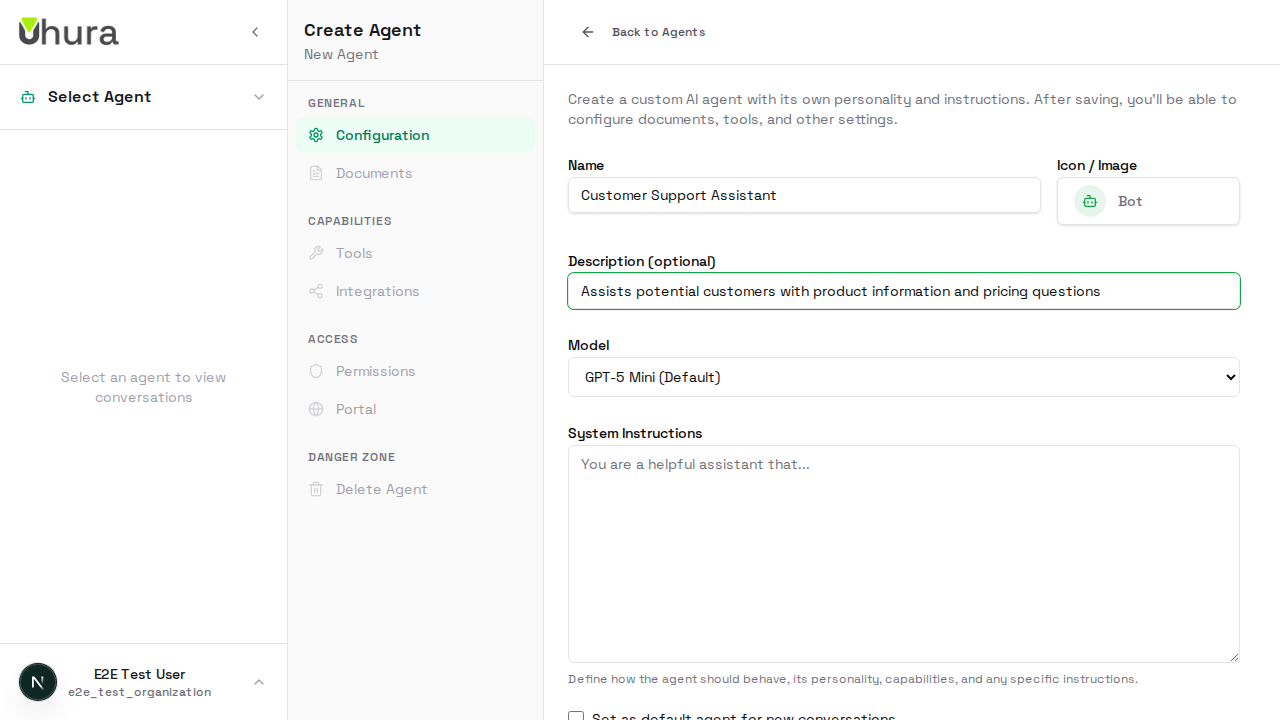
Add a Description
Provide a brief description of what the agent does. This helps team members understand the agent's purpose at a glance.
Write System Instructions
System instructions define how your agent behaves. This is the most important configuration - it tells the AI who it is, what it should do, and how it should respond.

Be specific about the agent's role, tone, and any restrictions. Include company context and guidelines.
System instructions directly affect AI responses. Review them carefully before deploying.
Select the AI Model
Choose which AI model powers your agent. Different models have different capabilities and costs. GPT-5 is recommended for most use cases.

GPT-5 is best for complex conversations. GPT-5-mini is faster and cheaper for simple tasks.
Configure Temperature
Temperature controls how creative or deterministic the AI's responses are. Lower values (0.1-0.3) give more consistent, predictable answers. Higher values (0.7-1.0) allow more creative, varied responses.

Use low temperature for factual support tasks. Use higher temperature for creative or brainstorming assistants.
Review Advanced Settings
Scroll down to see additional configuration options including custom guardrails, feature toggles, and integration settings.

Save Your Agent
Once you've configured all settings, click "Create Agent" to save. Your agent will be immediately available for use.
Expected result: A success message confirms the agent was created.
View Your Agent
After creation, you can view and edit your agent from the agents list. Click on the agent name to modify settings or access additional features like the Portal configuration.